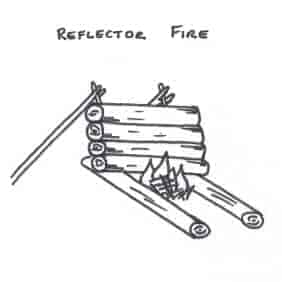
The reflector fire essentially is the fire of your choice then a wall erected on one side to reflect back the heat to create a hotter cook area. This method is often used if trying to cook something like a cake or similar on an open fire. It is far more successful if you use a reflector oven.
The more common, non-cooking, use for this fire is in overnight survival scenarios where there is a fire with the reflector on one side, and a protected shelter on the other side, thus maximising the warming heat on the person trying to endure the cold night.
How to Build a Reflector Fire
1/ Assess the location.The heat reflection is maximised if the wind is completely removed, thus it is best to place the reflector wall on the upwind side of the fire so it also acts as a windbreak. The fire itself should be far enough way that the reflector won’t catch fire, but close enough that it reflects the heat. As always consider the surroundings for fire hazards, wind direction and similar.
2/ Mark out the base. Decide on the method for securing the two supporting uprights, this can be done either by knocking them into the ground securely, confident they won’t fall, or building a frame and supporting it with another stick. This second method also provides the option of adjusting the angle of the reflector as needed.
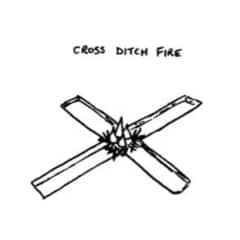
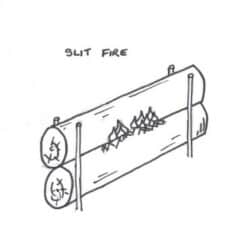
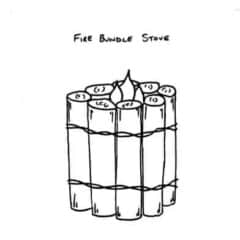
3/ Lay the fire. Any fire choice will work, however the one most often associated with this design is a hunters fire that runs perpendicular to the reflector wall. This also acts as a wind block for to additional directions of wind.
4/ Light the fire. Light the fire and tend as required for you intended dish. Adjust the reflector wall if possible to the angle that creates the heat distribution as needed.
5/ Maintaining the fire. The fire is maintained as per a normal fire to meet the needs of the recipe that you are cooking.
6/ Extinguishing the fire. When finished with fire extinguish it carefully. Do not leave until it is fully extinguished and cool to the touch otherwise it can re-ignite.
