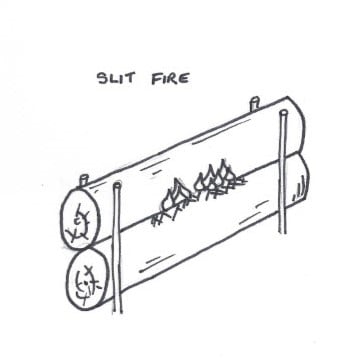
The slit fire originates from Finland where is known as a “rakovalkea” which translates literally as “slit bonfire”. It gets its name from this because it is created by placing two large long logs (primarily trunks) on top of each that visually creates a slit between them which is where the fire is lit and burns.
Traditionally this more is more of bon fire used in community gatherings, it however can be used in more practical ways, like building lean-to shelters on them to keep warm sleeping overnight, of course monitoring obvious potential safety issues.
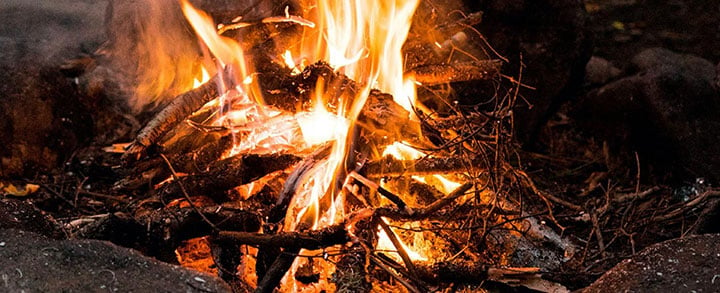
The Slit Fire once lit can burn for a long time with little maintenance. Not targeted as a cooking fire, it is still included because I challenge anyone to stand around this fire without grabbing a stick to toast marshmallows, bread on a stick or similar.
How to Build a Slit Fire
1/ Assess the location.Pick a location with a lot of space around so you can easily manoeuvre in the large logs/trunks needed to create the fire, then stand around and enjoy it when burning. As always consider the surroundings for fire hazards, wind direction and similar.
2/ Mark out the base. Identify where you would like the fire to go. With this fire, it makes more sense to be right-angles to the wind so the fire slowly burns out to the ends. Identifying this before building is important because of the size of the logs, you only want to be moving them once.
3/ Lay the fire. Lay the first log/trunk on the ground in the selected location. Find 4 thick strong spar poles and create a point on one end then bang into the ground tight around the log at each end to hold the base and upper log in place. These may be exchanged with posts, star droppers or similar.
On top of the base log lay tinder, sticks and similar, this is where the starting of the fire will occur and also acts to create an air gap to allow a strong fire. Once this is well established it will burn the larger logs and become self-sustaining.
Finally, the top log is added directly in alignment with the base log, on top of the tinder and sticks. It should remain in place due to the upright supports previously put in place.
4/ Light the fire. Light the tinder and similar in the center of the log. As it catches and burns the fire will spread to the ends of the log, also catch the actual logs themselves on fire.
5/ Maintaining the fire. When starting the fire, some additional sticks or similar may need to be added into the slit to insure a strong enough fire is created to get the logs burning and for it to become self-sustaining. Once established, little or no attendance will be needed.
6/ Extinguishing the fire. This fire can be left to burn out into itself. As they are such large logs, trying to extinguish it would be quite an exercise as it will hold a lot of residual heat and require some time watching it.