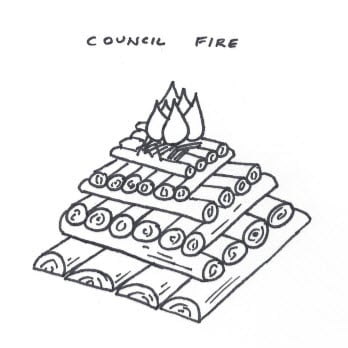
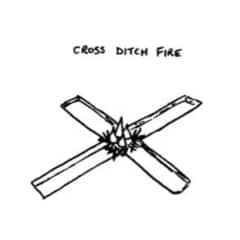
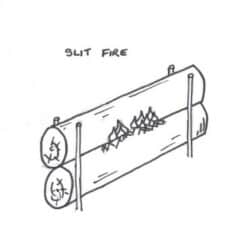
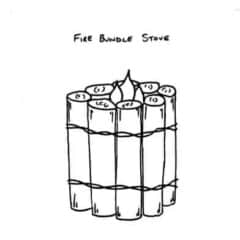
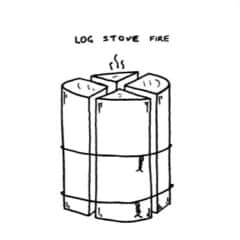
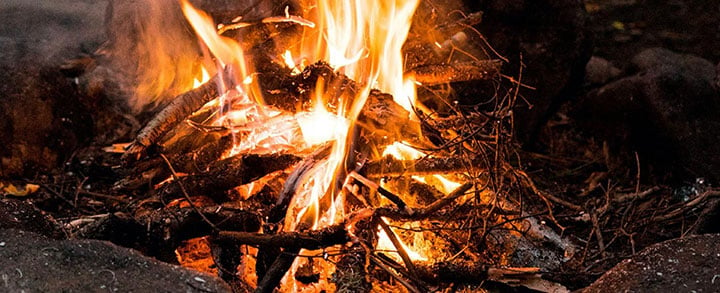
The Council Fire arrangement is probably one of the two most common designs, however it isn’t really a cooking fire, being considered more of a ceremonial, signalling or campfire. The best characteristic about this design is that once lit it should require no tending for its entire life, as levels burn they fall in on themselves, the smaller top twigs burning, then lighting the lower think stumps.
It is included because after a campfire filled night of singing and skits there is nothing better than cooking a sleep enticing supper over the thick bed of coals that remain. Whether a coal heated pot of hot chocolate or more traditional marshmallows or smore’s, the fire that has undoubtedly created the best food memories of camping must be included.
A similar variation of this fire is called the funeral pyre because previously in history it was used in the funeral ritual. This variation however differed in it had much thicker wood at the top compared to what is explained here to ensure it was hot enough to carry out its task. No cooking application for this however.
How to Build a Council Fire
1/ Assess the location.This fire has relatively few needs, primarily a flat location, away from trees and overhead flammable items, most likely also from trees. Make sure that there is enough space for the people to sit around it. As always consider the surroundings for fire hazards, wind direction and similar.
2/ Mark out the base. This fire, has a square base, the first thing you need to do is mark this out. The size of this will determine the size, and resultantly the time the fire will burn. Clear any rocks, twigs, leaves and similar from this area and a safety zone around it, ideally a couple of yards/metres.
3/ Lay the fire. The largest and thickest wood forms the base of this structure. Two logs are laid parallel, then two perpendicular on top of this. At this point I build the starting fire within this, it may be a pyramid fire, smaller log fire, or if the actual log cabin fire is small enough just a bunching of tinder and kindling that is strong enough to light the rest of the wood.
Once the lighter fire is set, then continue to build the council fire, however this time it doesn’t just consist of the two parallel logs, but also lengths of wood evenly spread. Each layer is slightly smaller than the one below it creating a pyramid style shape, not a box shape with vertical walls. This design works so well as it creates an ideal balance of wood and oxygen.
4/ Light the fire. This fire should be easily lit with a single match (or equivalent) placed into the base fire starting area. The tinder will easily catch, which will then light the kindling that will continue burning to light the log cabin frame. As it burns, it slowly falls into itself lighting the larger longer lasting logs until it has unattended burnt itself out leaving a bed of coals.
5/ Maintaining the fire. In the perfect scenario, this fire needs no attending, however it should still be watched, occasionally a stray log may want to roll out instead of in or the wood burns to quickly and the larger logs pushed towards the center to ensure they fully burn.
6/ Extinguishing the fire. This fire can get extremely hot, and is very exposed making it susceptible to issues from the wind if not extinguished correctly. If not fully burnt, the remaining logs should be spread evenly among the bed of the fire footprint, essentially giving it too much oxygen. It should then be extinguished carefully with water. Do not leave until it is fully extinguished and cool to the touch otherwise it can re-ignite.
